

The Bird & Wildlife Photographer's Complete Gear Guide: From First Lens to Dream Kit
Honest advice from people who've been in the field. No fluff, no filler — just what you actually need to know before you buy.
Bird and wildlife photography is one of the most demanding and rewarding genres in all of photography. Your subjects don't take direction, don't hold still, and have a frustrating habit of flying away right as you get focus locked. Getting consistently great shots means having gear that's matched to how you shoot, where you shoot, and what you shoot.


This guide was built to answer the questions other guides skip. We'll tell you when spending more will genuinely improve your results, and we'll tell you honestly when it won't. We'll help you figure out what kind of bird photographer you are before recommending a single piece of gear. And we'll cover the real-world details like how autofocus behaves when using teleconverters, when image stabilization actually matters, and the true cost of owning a super-telephoto lens — that most buying guides gloss over.
Whether you're just getting started or looking to upgrade a kit you've outgrown, you're in the right place.
What to Look for in a Bird Photography Camera
When looking for a new camera that you intend to use for bird photography, look for a model that has:
- pre-burst shooting mode
- fast autofocus
- great low-light shooting
- a good selection of lenses, especially telephoto zoom lenses
For shooting still photos, go for a camera with a high rate of frames per second, ideally 8 or 12; the more the merrier.
For shooting video of birds or other wildlife, high resolution and high frame rates like 120p or 240p.
Tips for Buying a New Camera
Mirrorless cameras (Sony, Canon R-series, Nikon Z-series, OM System) have largely overtaken DSLRs for bird and wildlife photography because of their subject-tracking autofocus. Features like bird-eye detection AF (where the camera automatically finds and locks onto a bird's eye) are genuinely game-changing for beginners. DSLRs can still produce great results, but their AF systems require more skill to use well, and used mirrorless bodies have become affordable enough that DSLRs are harder to recommend for a new buyer today.
Autofocus matters more than megapixels
For birds and wildlife, AF speed, accuracy, and subject tracking are far more important than resolution. A 20MP camera with excellent tracking will serve you better than a 45MP camera with sluggish AF. When researching bodies, look specifically at how reviewers assess the bird/wildlife AF performance.
The lens is often more important than the body
This is the uncomfortable truth: a long, sharp lens on a modest body will usually outperform a great body with a mediocre lens. Budget accordingly. Many beginners overspend on the body and underspend on glass. A 100-500mm or 150-600mm zoom is an excellent starting range for birds.
Someone photographing shorebirds on a flat coastal beach has completely different needs than someone shooting warblers in dense woodland, or raptors in open prairie. Beach shooters need weather sealing and low-shooting-angle support. Woodland birders need faster lenses to deal with low light and broken AF lines.
The more pixels, the higher the resolution, the better the camera will be in low-light situations like in a forest or early in the morning when birds are most active. 15-20 megapixels will do very well. Full-time pros or photographers who want to print out large, high-res photos may want to opt for more, but for most of us, 15-20 MP is plenty.
Having a high-resolution camera means you can crop in without having super long lenses for photography or videography.
Many models of cameras include built-in AI-driven bird and animal-eye detection autofocus to help you capture the best shots of these frequently hard-to-catch subjects. The Sony A7 IV, for instance, features real-time AF for birds for both stills and video, allowing automatic tracking of a specific bird, whether it's perched somewhere or in flight.
Don’t underestimate the power of adding an 8K or even 6K video camera to your kit even if you are not a fan of video. A single still frame pulled from an 8K video clip is 33MP. High-end photographers are exporting stills from their video clips, carefully choosing the best frames. Your camera might only burst off photos at 8FPS, but video standards start at 24FPS. Most cameras even have 60FPS available to them as well, so that means you are getting 60FPS shooting video. You can then export a single still from any video clip with the help of software like Premier Pro or Davinci. Now, rather then choosing from an 8FPS burst of photos, you can choose 1 of your 60FPS video clip. And if you are shooting higher res video you can crop in and still pull out a 16MP photo, which is totally fine for social media use. That's the power of 6K or 8K video!
Recommended Cameras

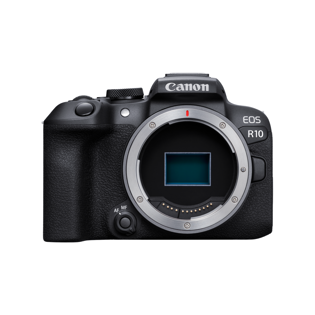
Best Pick for Beginners: the Canon EOS R10
Best Pick for Beginners
The Canon R10 is very affordable and saves you plenty of room to get the right lenses you may need. The camera allows you up to 15 frames per second which is plenty for shooting wildlife.

Best Pick Overall: the Sony A1 II
Best Pick Overall
Sony’s A1 II is the ultimate sports, wildlife and action camera. It features Pre-capture Mode along with high-res shooting up to 50MP, Internal Built-in Stabilization (IBIS), and animal eye detection. Shoot up to 30fps stills and 4K 120P video, which is awesome for slow-motion captures. The Sony A1ii checks all the boxes and is paired with best in class autofocus for superb wildlife photography.


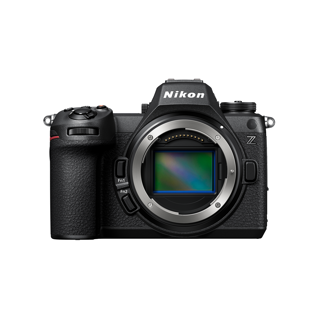
SKU: V567NIK284
Nikon Z 6III BodyIncredible autofocus. Blistering speed. The Z6 III features 6K/60p internal RAW + 240p HD video and Nikon's brightest, most detailed electronic viewfinder. A powerful tool for creators and filmmakers.

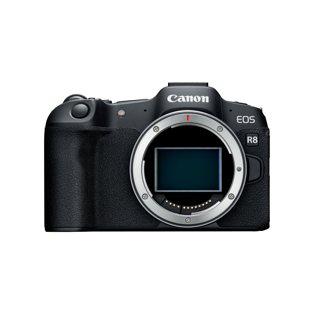
SKU: V567CAN214
Canon EOS R8 BodyThe EOS R8 camera combines high-performance full-frame capabilities with a lightweight and compact design for creators ready to step up their content creation.
SKU: V567CAN208
Canon EOS R10 BodyThe Canon EOS R10 is perfect for creators, offering high-speed shooting, lightning-fast autofocus, and a sleek, lightweight design to enhance your creativity.
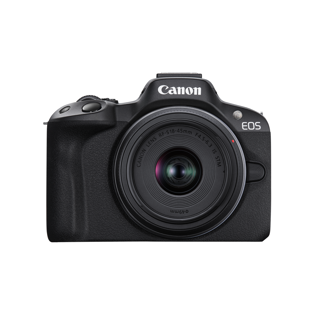
SKU: V567CAN216
Canon EOS R50 with RF-S 18-45mm f4.5-6.3 LensThe EOS R50 camera makes photography fun, simple, and convenient with intuitive photo functions that capture beautiful images automatically. It's a great camera for movie recording and vlogging, too!
SKU: V566NIK444
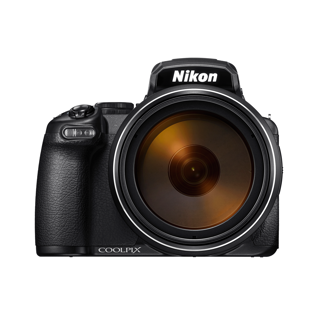
Nikon COOLPIX P1100SKU: V567CAN219
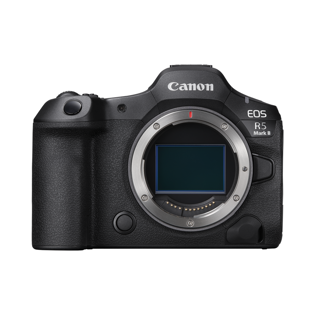
Canon EOS R5 Mark II BodyDesigned with performance and image quality at its core, the EOS R5 Mark II camera offers high-quality still and video output for sports/wildlife photographers, journalists/producers, video producers and visual creators.
SKU: V567PAV098
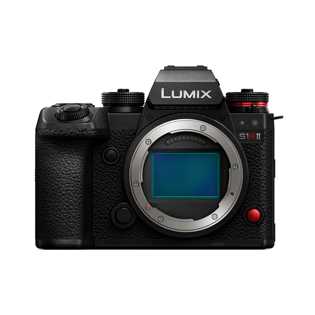
Panasonic LUMIX S1RII BodySKU: V567SON152
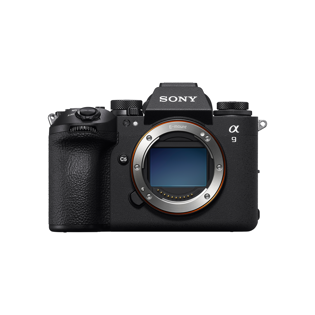
Sony Alpha A9 Mark III BodyThe Sony Alpha 9 III features the world’s first full-frame image sensor with a global shutter system. Capture fast-moving subjects with absolutely no image distortion. Preserve split-second moments in stunning detail.
SKU: V567CAN211
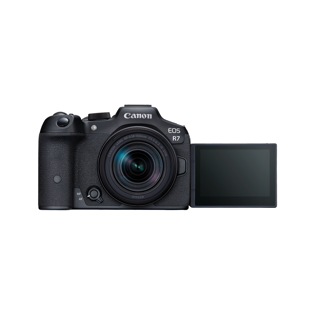
Canon EOS R7 with 18-150mm F3.5-6.3 LensCapture fast action, wildlife, and more with the versatile Canon EOS R7, the perfect all-around camera for dedicated professionals and advanced hobbyists alike.
SKU: V567SON141
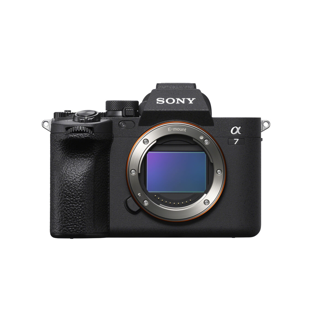
Sony Alpha A7 IV BodyWith groundbreaking performance in both still and movie recording, the A7 IV is the ideal hybrid, designed to bring to life the artistic visions of today's creators.
Bird Photography Lenses
Often people will buy a 70-200 and then realize how far away you still are from these tiny subjects. For birds, you really want something 300mm and above. If you want the bird to fill the whole image, opt for a high focal length like 400mm. This will help you capture great images of birds from quite a distance away.
Lenses are the most critical component of your kit when it comes to shooting birds and wildlife.
Best Lenses For Bird Photography: A Complete Guide
The lens you choose plays a crucial role in determining the quality of your bird photos. In this guide, Joe Donoghue explores the best lenses for bird photography, focusing on different lens types and highlighting top options from Sigma, Canon, Sony, and Nikon. He also discusses some add-ons that can help you get even closer to your feathered subjects.

Photo credit: Joe Donoghue @The.OutdoorCollective
Tips for Buying Lenses
Even with a 300mm lens, most birds are a tiny speck in the frame.
- Step up to at least a 500mm or 600mm focal length if your budget allows — this is the single biggest quality-of-life improvement for bird photographers.
- Add a 1.4x or 2x teleconverter to your existing telephoto lens for extra reach at relatively low cost. Be aware that a 2x converter will cost you 2 stops of light and may slow autofocus on older systems.
- Use APS-C / crop mode on full-frame mirrorless cameras for an effective 1.5x reach boost with minimal image quality penalty on high-resolution sensors.
While a converter is a cost-effective way to gain reach, there is a bit of autofocus degradation that comes with it, particularly on older lens and body combinations. Some pairings work beautifully. Others become sluggish to the point of being unusable for flight and action shots. Something to consider when you’re deciding between buying a converter vs. saving up for a longer native lens.
For birds in flight at 1/2500s, stabilization does almost nothing to increase the number of photos you consider ‘keepers’. But for a handheld 600mm shot of a perched owl at dusk at 1/400s, it can be the difference between a usable image and a throwaway.
Other than the obvious – price – there are a number of other costs to consider, including insurance, lens collars and foot replacements, filter systems (which get expensive fast at 100mm front elements), carrying and support gear requirements, and resale value. A $2,000 lens that holds its value well and needs minimal accessories can be a smarter long-term buy than a $4,000 lens that depreciates fast and needs an $800 support system to use effectively.
Shop Lenses
SKU: V010GET609
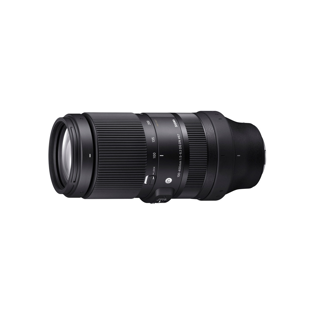
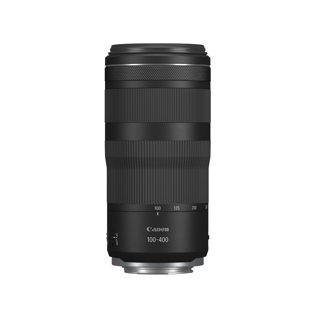
SIGMA 100-400MM F5-6.3 DG DN OS (C)SKU: V010NIK217
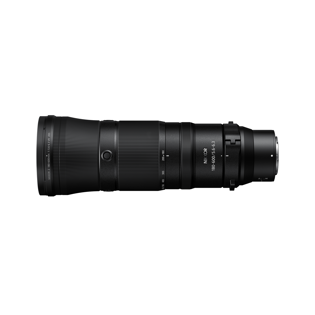
Nikkor Z 180-600mm f/5.6-6.3 VRSKU: V010SON068
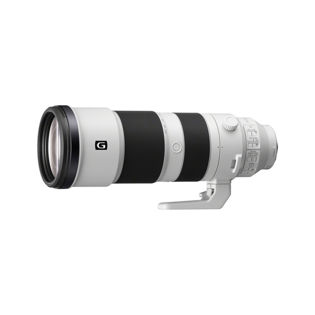
Sony FE 200-600mm f/5.6-6.3 G OSS LensSony FE 200-600mm f/5.6-6.3 G OSS Lens
SKU: V010CAN161
Canon RF 100-400mm F5.6-8 IS USM LensSKU: V010CAN153
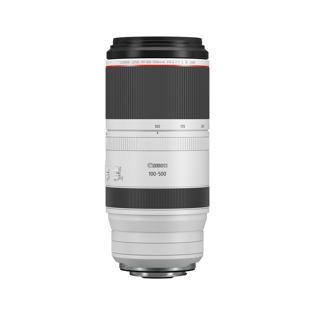
Canon RF 100-500 f/4.5-7.1 L IS USMSKU: V010NIK208
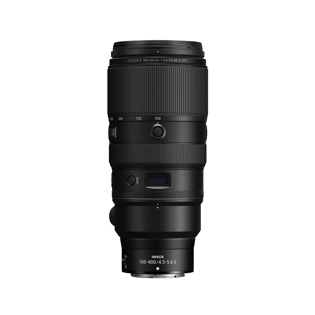
Nikkor Z 100-400mm F4.5-5.6 VR S LensSKU: V568AMP058
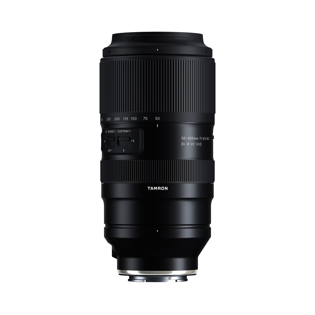
Tamron 50-400mm f/4.5-6.3 Di III VC VXDTamron 50-400mm f4.5-6.3 Di III VC VXD
SKU: V010CAN152
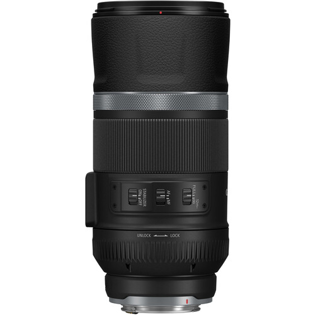
Canon RF 600mm F11 IS STM LensSKU: V010AMP195
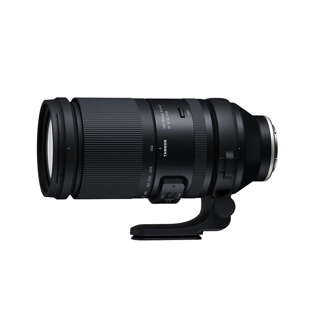
Tamron 150-500mm f/5-6.7 DI III VC VXDSKU: V010SON084
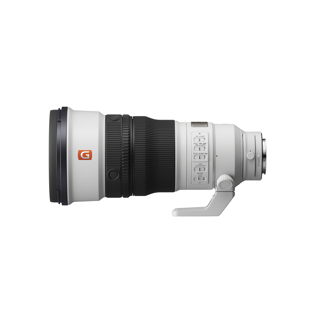
Sony FE 300mm f/2.8 GM OSS Lens
Accessories for Birding and Wildlife Photography
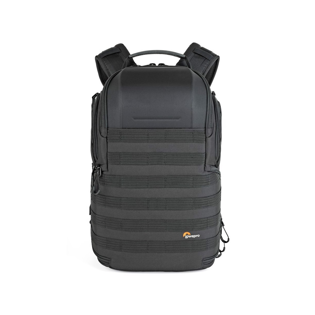
Accessories support when and how you shoot and can make a real difference in how much you enjoy shooting. Lights can soften shadows and help bring out fine details of the birds on your feeders. A comfy backpack will earn its keep quickly.
SKU: V509RES866
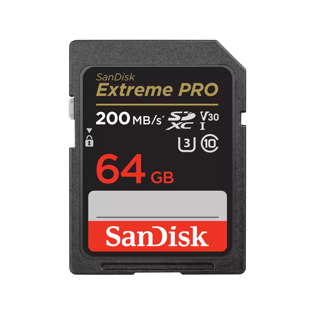
Sandisk Extreme PRO SDSKU: V509SON132
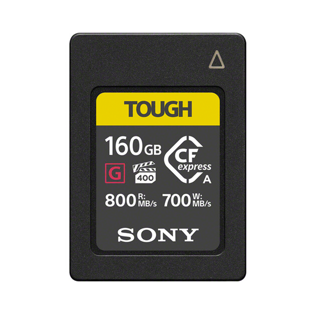
Sony Tough CFexpressSKU: V510RES108
PGYTECH CFexpress CreateMate Card Reader Case Type B / SDPGYTECH CFexpress CreateMate Card Reader Case Type B / SD
SKU: V510RES107
PGYTECH CFexpress CreateMate Card Reader Case Type A / SDPGYTECH CFexpress CreateMate Card Reader Case Type A / SD
SKU: V306AMP399
Yelangu YLGA17 Gimbal HeadSKU: V509RES844
Sandisk CFexpress Extreme Pro Type BSKU: V230NIK169
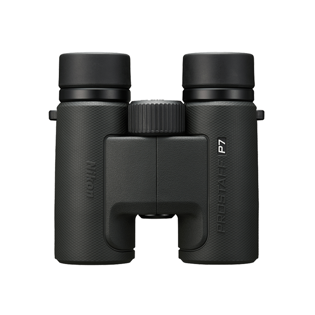
Nikon Prostaff P7 BinocularsNikon Prostaff P7 Binoculars
SKU: V047DAY081
Lowepro ProTactic BP AW II Green LineSKU: V303GET255
Manfrotto Befree Advanced Lever LockSKU: V303GET151
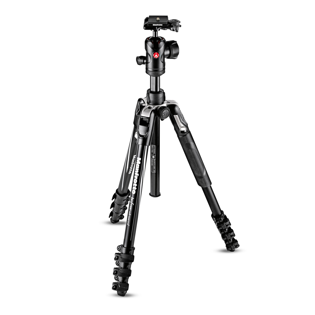
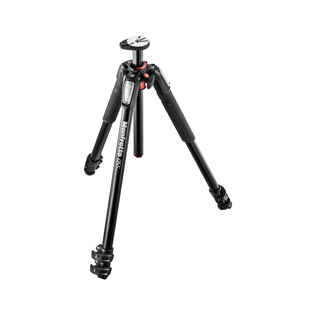
Manfrotto MT055XPRO3 Aluminum 3-Section TripodSKU: V140GET045
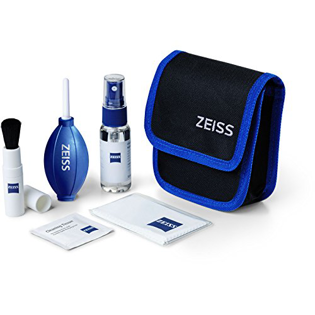
ZEISS Lens Cleaning KitSKU: V137RES151
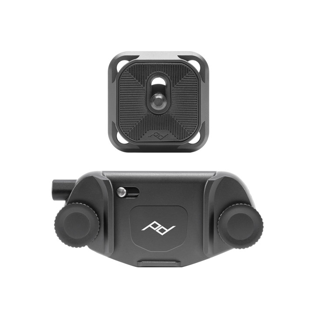
Peak Design Capture Camera Clip V3 BlackSKU: V230NIK168
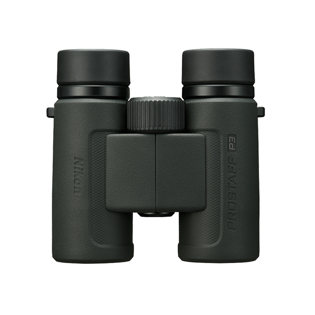
Nikon Prostaff P3 BinocularNikon Prostaff P3 Binocular
SKU: V047GET025
Roots 73 Flannel Collection Backpack


Tips for Taking Pictures of Birds
Expert tips for capturing incredible imagery of our feathered friends.

Know Your Subject
The best bird and wildlife photographers understand their subjects. Get to know their migration patterns, feeding behaviors, mating displays, and habitat preferences. The more you know, the better your shots get.
Shutter Speed - Catch the Action
Set your camera's shutter speed to 1/1000 of a second or above to freeze the bird's movement without any blur. Keep an eye on the ISO as well, so your images don't get grainy.
Fast shutter speeds are required to freeze motion - no slower than 1/500th of a second is recommended. But sometimes, if you can manage to time it right, hummingbirds will flap their wings mid-air and hover in place for moments at a time. This would be awesome to capture at a slightly slower shutter speed so when you look back at the photo, the wings will show a little motion.
Play around with your shutter speed, but not much slower that 1/200th of a second or else things get blurry quickly!


Separate your subject from the background
Look for opportunities where there is a good distance between your subject and what's in the background. Select a wide aperture, so you capture the crisp details of your subject, but the background is blurry.
Get the Support You Need
Even with image stabilization and vibration reduction, using a tripod or monopod will give you a better chance of getting the shot you're after.
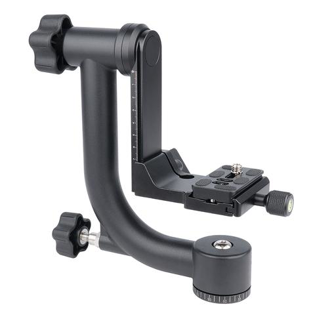
The rule for hand holding shots is 1/your focal length. If you are shooting on a 600mm lens, for example, then your minimum shutter speed will likely be a little bit higher than 1/500th of a second if you are hand holding the camera. This is where tripod gimbals can come in handy! Plus, gimbals allow you to smoothly track subjects flying across the sky.


Focus on the bird's nearest eye.
If the eye is not in focus, your photo will be less than satisfying. A glint of light in a bird's eye can bring your photo to life.
Stretch Your Wings
For those not comfortable in manual mode yet, try shooting in a shutter priority mode. This made be labeled “Tv” or “S” on the main dial of your camera. This allows you to set the shutter speed to what you desire it to be. For those a bit more advanced, then setting your aperture to the lowest aperture available would also be highly recommended. This will ensure your lens is letting in the most amount of light and not needlessly turning up your ISO and adding extra grain into your images. The more control you have over the camera, the greater the results!
Set the camera’s autofocus settings to track subjects continuously, rather than single shot autofocus modes. Continuous autofocus will ensure even if you have pressed the shutter button, the autofocus will stay with the subjects. New cameras will have amazing animal eye detection, but they still require you to have your autofocus settings dialed in correctly. Canon cameras have autofocus settings that tell the camera to quickly grab a subject that is entering the frame. Going through the menu and learning as much as you can about what is available on your camera is key to the higher success rate when photographing birds.

When does better gear stop being the limiting factor?
There's a point, roughly around a good mirrorless body with reliable bird-eye AF and a 500mm lens, where additional gear investment yields diminishing returns compared to time spent in the field developing skill, learning bird behavior, and finding great locations.

Photo taken by Kevin Shah using a Canon EOS Rebel T7/2000D. @kevinssphotos
Learn More

Advanced Autofocus Tips to Make Your Bird Photography Stand Out

Birds in Flight: How to Capture the Action
Shop at Henry's

Trade It, Upgrade It
Trade in your old gear for something new!
Find out more about Henry’s Trade-in program

Extended Warranty
Keep your gear safe! Henry’s offers 2 or 3-year extended warranties on cameras and lenses.
Find out more
